Complete the Wainwrights in 36 Walks
Route Fourteen: The Greenburn Round
Number of Wainwrights: Four (Steel Fell, Calf Crag, Gibson Knott, Helm Crag)
Statistics and Files
Grid Ref: NY 333 081
Distance: 7.1 miles (11.4 km)
Walk Time: 4–6 hours
Wainwrights: 4 Fells
Ordnance Survey Explorer Maps (1:25,000):
OL4 The English Lakes – North Western Area
OL5 The English Lakes – North Eastern Area
OL6 The English Lakes – South Western Area
OL7 The English Lakes – South Eastern Area
The Walk
This walk is one of the adventurous stayers in Grasmere, most well known for taking walkers to the famous pinnacle of Helm Crag — home to the ever-in-favour rock formation known as the Lion and Lamb, alternatively known as the Howitzer. Most walkers will head straight for Helm Crag without completing this round, but they will miss out on a walk of diversifying beauty. I really did enjoy the walk, and the views I took in will stay with me forever, so please come along and let me tell you all about it.
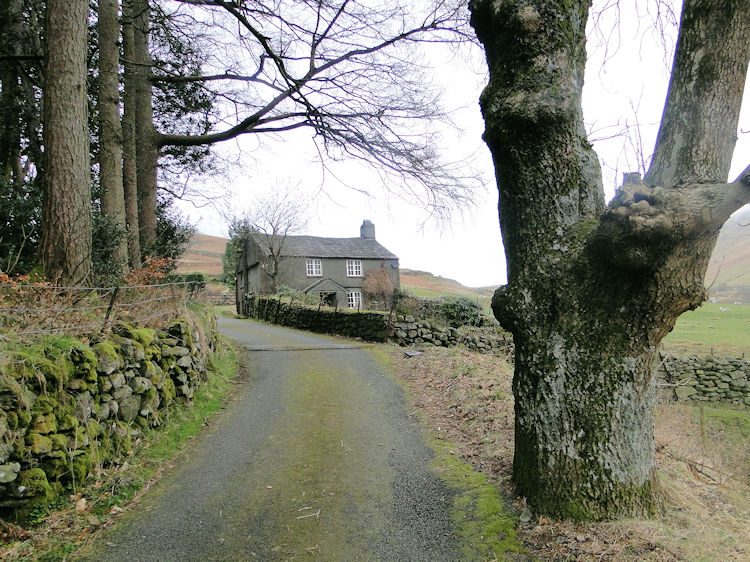
It starts ingloriously with a road walk out of Grasmere along a very quiet road to Helmside, just over a mile of flat tarmac. Despite this start, occupy your time by looking at the views, particularly to the east of the Eastern Fells. If you do, Helmside is soon reached, and once through a gate you're onto lovely grassed fell and on your way up and up to higher ground. Resist the temptation to drop into Greenburn Bottom and follow a track with a wall close to your right through a gate, and then you will be on the true ascent to Steel Fell. The next mile and a half is a tough slog with an ascent of 450 metres, but it is worth it — stick with me.
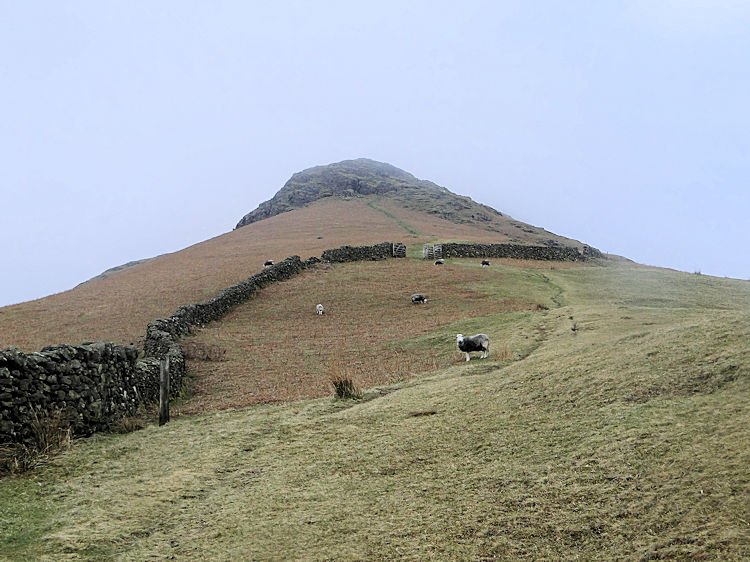
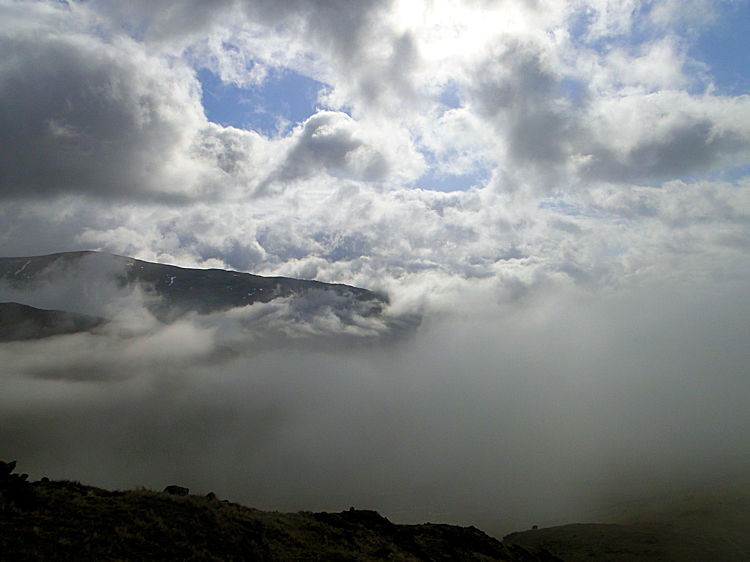
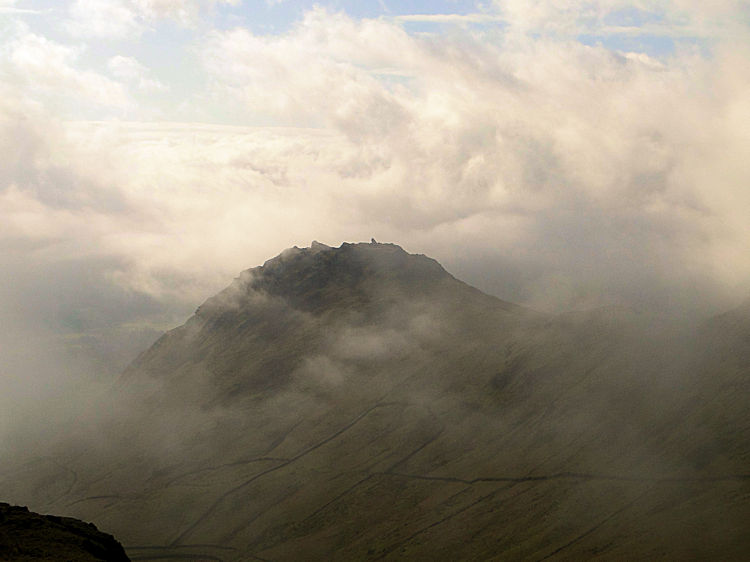
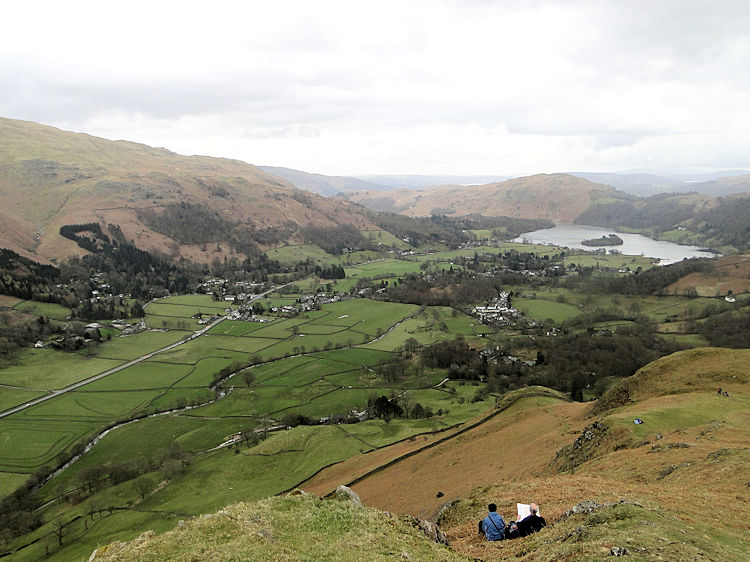
At about 350 metres high I reached Cotra Breast, and the clouds of the early morning were lifting swiftly. The views all around were scintillating as one moment I would be in cloud and the next moment in clear skies, while all around the fells were ever-changing in appearance as the clouds whirled around and up and away, revealing more and more of the outlying fells. The photograph above will give you an idea of what I was witnessing, as only a minute previously I could see nothing of the ridge at all. On the other side of Dunmail Raise it was the same with Seat Sandal, Dollywaggon Pike, and Nethermost Pike — sometimes completely hidden, and the next moment I was staring them in the face! Another moment and they were gone again, or partially so. It was a heavenly time, and it joyfully interrupted my ascent to Steel Fell. I passionately wish for times like this again and again. Once I had reached the summit of Steel Fell the dance was over. In my disappointment at the end of the performance I was uplifted again by a new unveiling view.
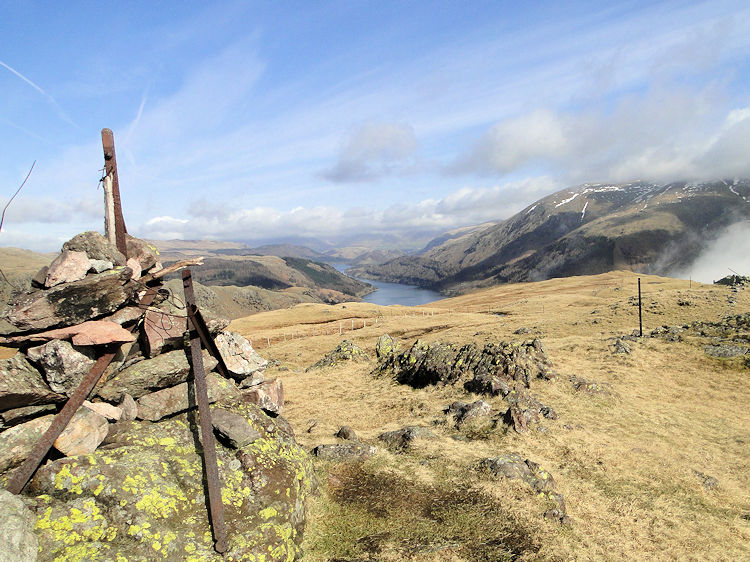
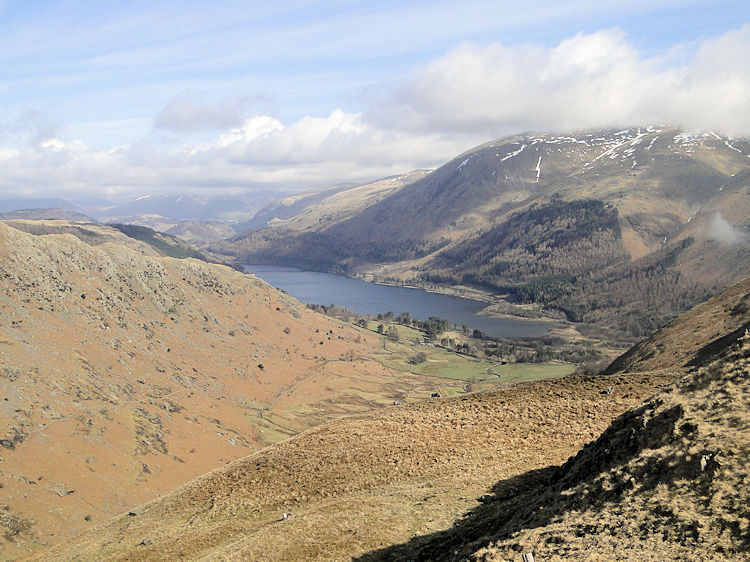
I will quote Wainwright on his description of the summit of Steel Fell, for it is partly appropriate: “A heap of heavy red stones forms a colourful cairn on the highest part of the fell... Several small tarns lie around like an untidy and unattractive necklace.” I agree with his description of the cairn, but not with his dismissal of the tarns — I thought their random scattering to be appropriate and quite right for a non-uniform fell top. Better still was the view just beyond the cairn which the great AW did not mention: as I stood there I was drawn a few steps north and west to a brilliant view of Thirlmere reservoir directly below due north, with its surrounding plantations and the massifs of Skiddaw and Blencathra directly beyond it. It was a fantastic sight, and I really enjoyed my time on Steel Fell.
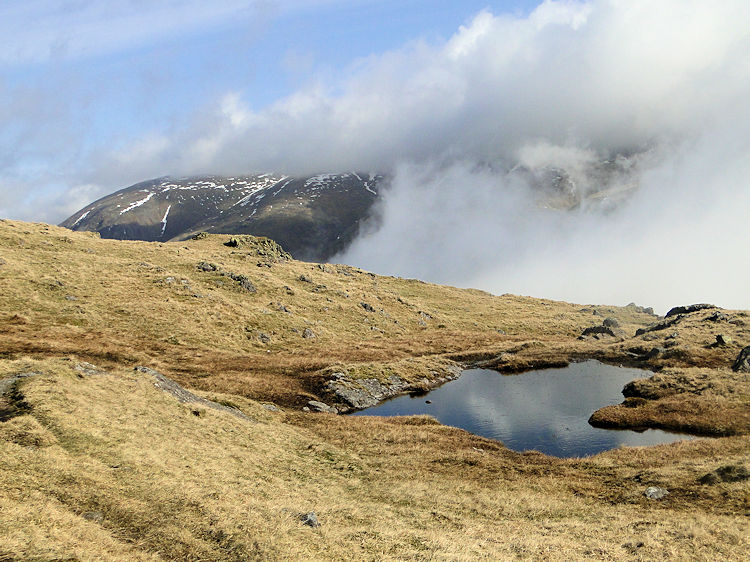
From Steel Fell my next target was Calf Crag, and the walk between the two was fantastic. I can say this because I travelled between the two on a day set so fair it was an easy navigation. Going back to Wainwright, he describes the section as “a supreme study in desolation (especially in rain and mist)... has many geological and geographical features of unusual interest.” Another reference from him adds: “The Bog, with a capital T and B, is the official name of this morass. It may be said that here, at any rate, the foot of man has never trod.” His guide has changed all that, but his report of this section — maybe true in the rain and mist — is overturned on a day like mine!
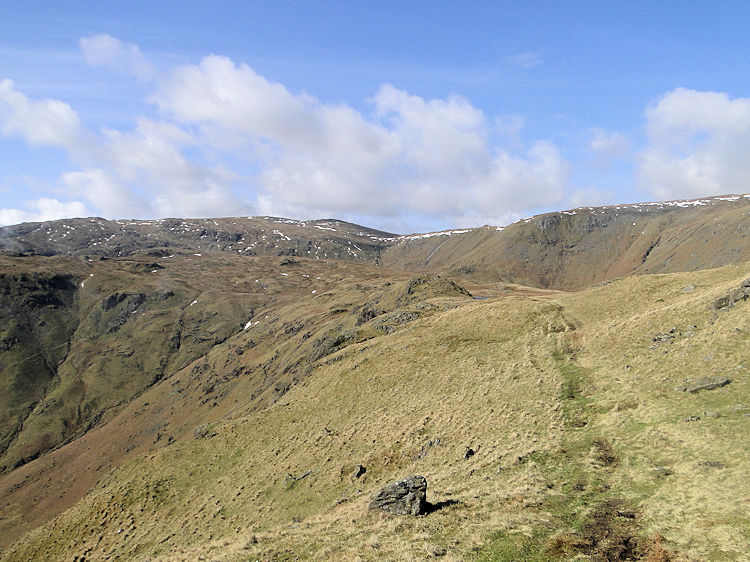
It was a splendid walk through fascinating ground with lots of interest, including craggy outcrops, tarns of different shapes and sizes, and with views of all the high fells around. Only on the final section across Brownrigg Moss between the major tarns and Calf Crag did it get boggy, and yes, he was right — there is no way to avoid it, but at least there were a series of metalled posts indicating the path to follow to keep me on my way. With my trusty Meindl boots I was kept dry, and I rose from the short boggy section unscathed to reach Calf Crag in time for another short break.
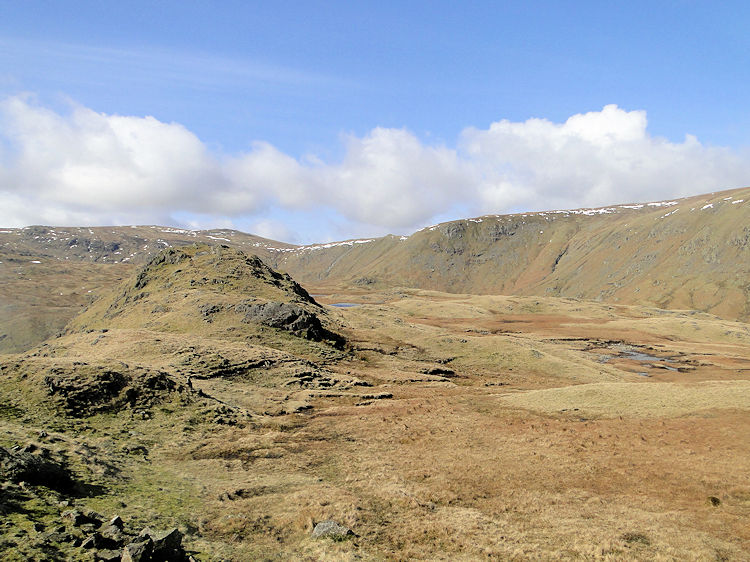
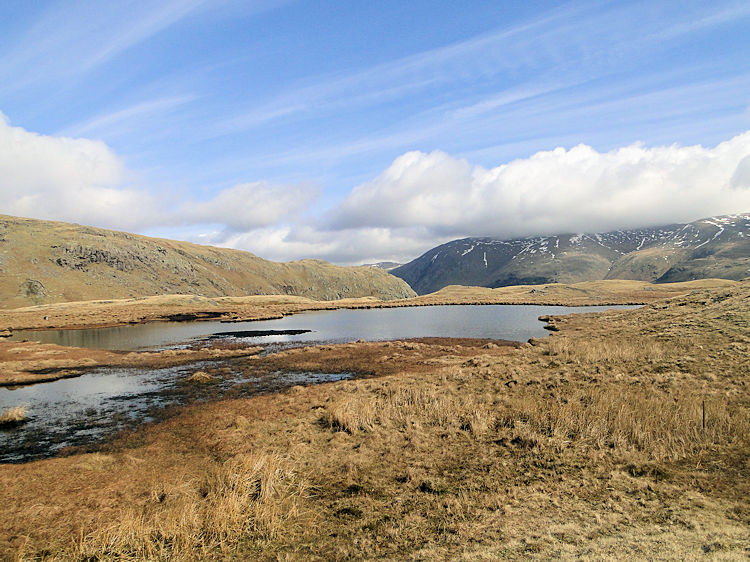
The summit of Calf Crag was a pleasant place, and from the summit I could clearly see the ridge route to Gibson Knott and then to Helm Crag. The distinct shape of the Lion and Lamb was like a beacon to aim for, there being no way to go off route. With this assurance I headed off and away to Gibson Knott. The brilliant morning sunshine was fading somewhat to an afternoon grey as I followed the ridge, but fortunately there was no suspicion of rain (with the sun disappearing though it did become cooler — not to worry!).
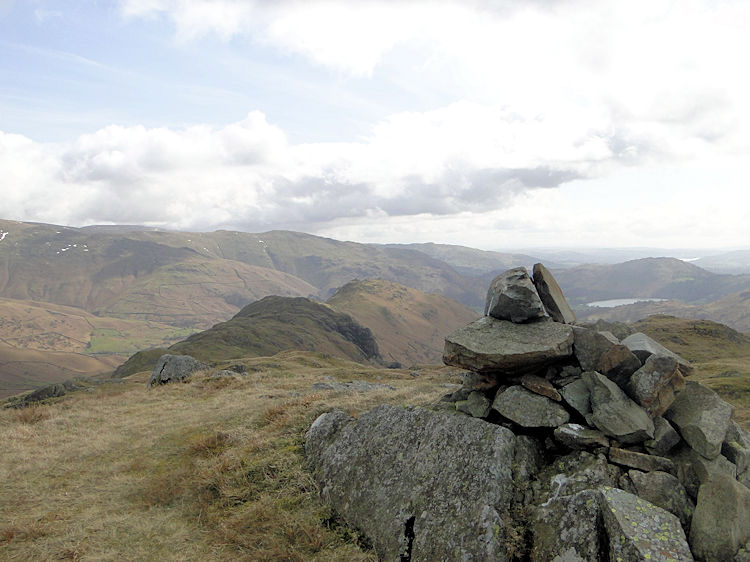
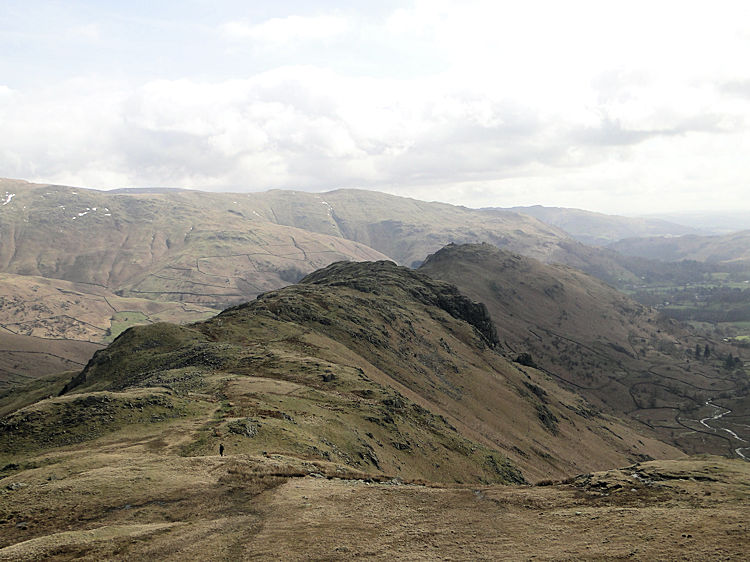
The ridge route was a pleasant bound over high ground with interesting changes from grassy levels to rocky rises and craggy tops, then rocky descents and more grassy sections — it was never boggy, just the odd step or two through puddle areas. One such craggy top was Gibson Knott itself; it is the highest point on the mile-long crest linking Calf Crag and Helm Crag, and a good vantage to look back to one and forward to the other. From Gibson Knott the path dropped away from the ridge crest and skirted the highest point to the south and west before resuming the ridge for a final haul up Helm Crag itself. Only at this point did the familiar rocky top of Helm Crag disappear, but not for long — I was on a roll, and after a 50-metre sharp ascent I was up.
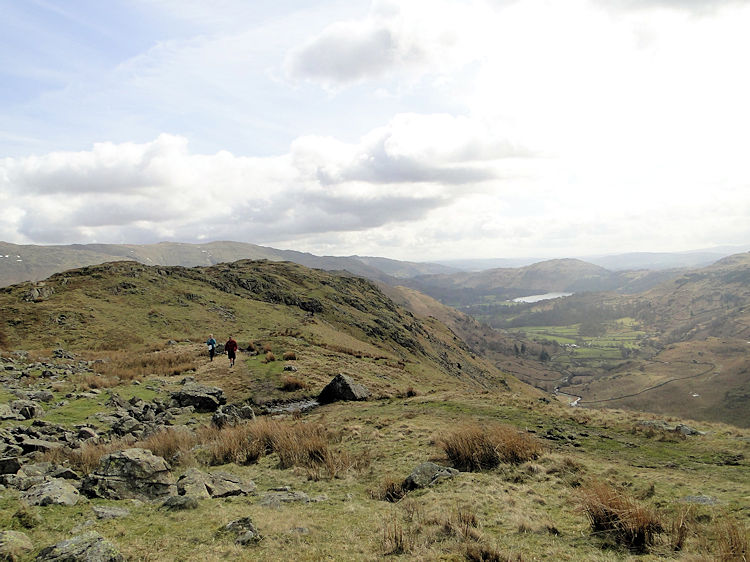
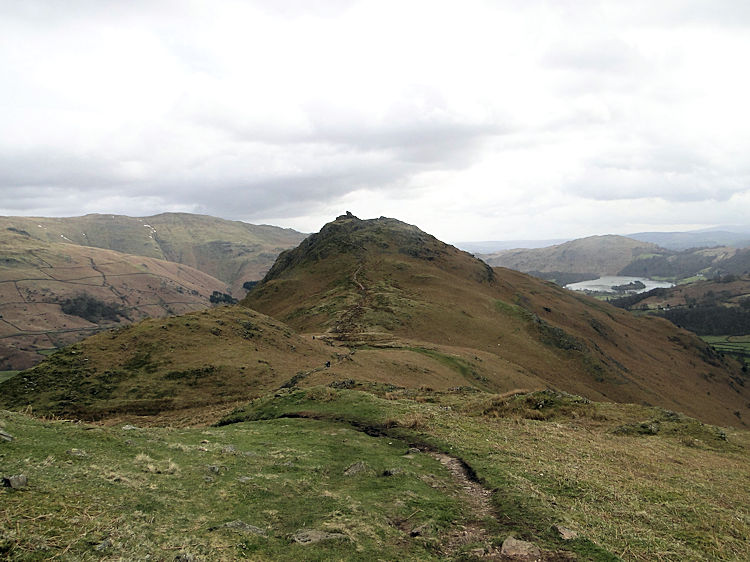
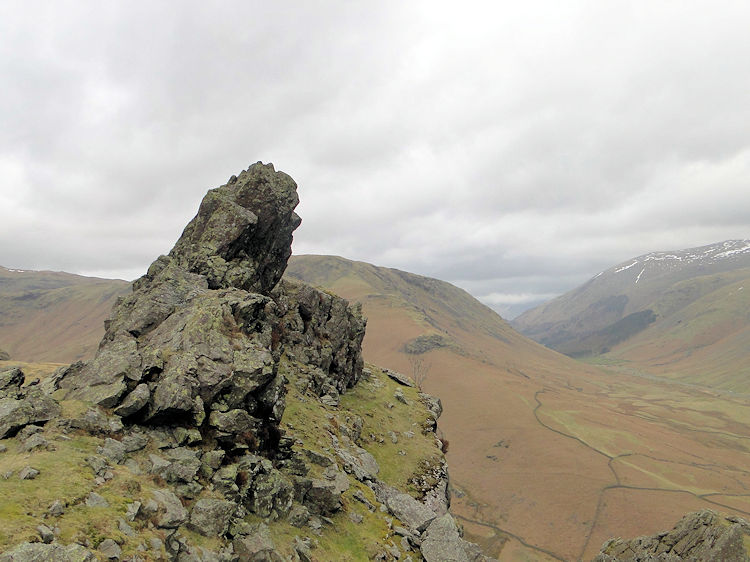
And so I was finally on one of the best known of all Lakeland Fells. Thousands, possibly millions, have been on Helm Crag as early Lakeland visitors — particularly the Victorians, spurred on by tributes from the Lakeland Poets — saw the pinnacle as a point of pilgrimage. By fortune I was not encumbered by crowds, just in the company of 50 or so folk (mainly in family groups) who suddenly appeared at the summit. Many, like me, admired the famous rock for its unique appearance; I studied it a while and I could clearly understand the Howitzer attachment, though not so the Lion and Lamb (perhaps I was not at the right angle to get that?). Anyway, I gave the summit of Helm Crag particular attention before heading down the fell via White Crag and Lancrigg back to Grasmere. On this section, as with Helm Crag summit, I encountered many other folk, but as it was midweek there was never a problem passing. Soon I was off the fell and back in Grasmere. Deed done! A wonderful day out, but for me the highlight was not the famous end, but the fantastic beginning and middle sections — I will always remember my journey up Steel Fell and from Steel Fell to Calf Crag.
Walking the Wainwrights
I provide maps, statistics and route files in .gpx and Google Earth .kmz data forms for each walk in the compilation. For a detailed route guide of this walk you will need to get hold of the 'Walking the Wainwrights' book by Stuart Marshall.
Get the book here: Walking the Wainwrights by Stuart Marshall