The classic Lake District walk from Seathwaite to Great Gable via Sourmilk Gill, Gillercombe, Green Gable, and Windy Gap. The return journey from the summit of Great Gable to Seathwaite descends via Sty Head, Styhead Tarn, Greenhow Knotts, and Stockley Bridge.
Summary: Great Gable is rated by most Lakeland walkers as one of the very best mountains. Quite rightly so, for it is an awesome sight to behold—possibly the most painted and photographed of all Lake District peaks, sitting spectacularly in a central position when viewed from Wast Water. The stunning panoramic views from the summit are breathtaking: to the north-west are brilliant vistas into Ennerdale and Crummockdale, flanked by the complementary ridges of Pillar, Looking Stead, Haycock, Haystacks, High Crag, High Stile, and Red Pike. Looking due south reveals the Scafell massif. It is a mountain that must be climbed, and the route up from Seathwaite via Sourmilk Gill and Windy Gap remains a personal favourite.
The Walk Report
It was during the May Bank Holiday weekend, shortly after a significant birthday milestone, when I decided that seven years was too long a spell not to have ventured up Great Gable. Seven years prior, I had taken my girlfriend Lil on her first real Lake District walk. It was a punishing introduction back then, and she had struggled.
This time, Lil accompanied me again for her second Lake District walk—now as my wife. With memories of that painful first attempt, Lil was understandably apprehensive, but I promised I wouldn't blaze ahead. I couldn't have anyway, as this was my first proper walk in over six months and I was far from peak fitness! Fortunately, she had much better footwear this time. The signs were good as we drove on a fantastic morning from Cockermouth through Lorton Dale and over Honister Pass, feeling reassured after hearing a promising weather forecast on the radio.
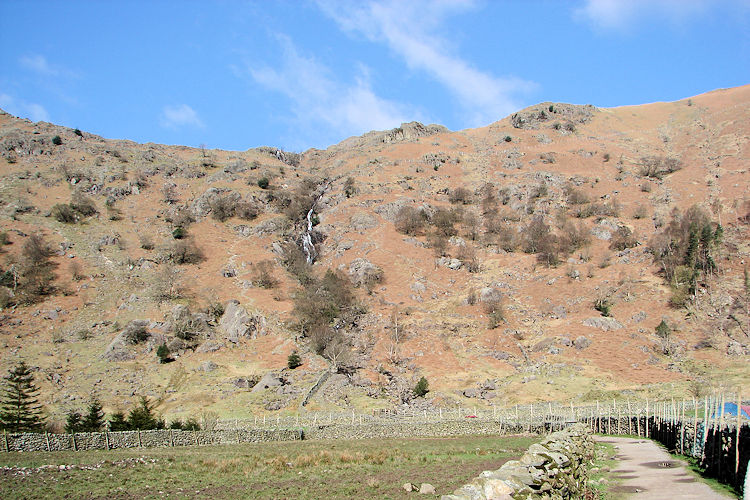
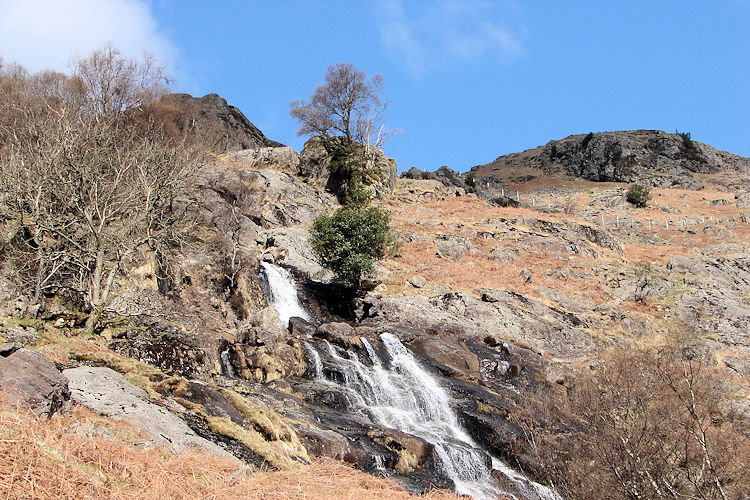
The footpath from Seathwaite to Sourmilk GillSourmilk Gill
We parked close to Seathwaite Farm, beating the crowds at this immensely popular walking gateway. Lil quickly changed and prepared to set off. I took somewhat longer—as I always do, ending up the packhorse laden with spare layers, provisions, maps, compass, GPS, wallet, coins, and car keys!
After a brief false start walking past the farm turn-off, we retraced our steps and walked straight through the farm buildings, heading west toward the foot of Sourmilk Gill. During our first attempt seven years ago, Lil had raced up the gill trying to keep pace with me, reaching the top exhausted, dehydrated, and unable to recover. This time, I instructed her to pace herself. To her credit, she did so brilliantly, combining steady climbing and scrambling up the gill with enthusiasm and caution. I could tell she was actually enjoying the ascent—a great start for both of us!
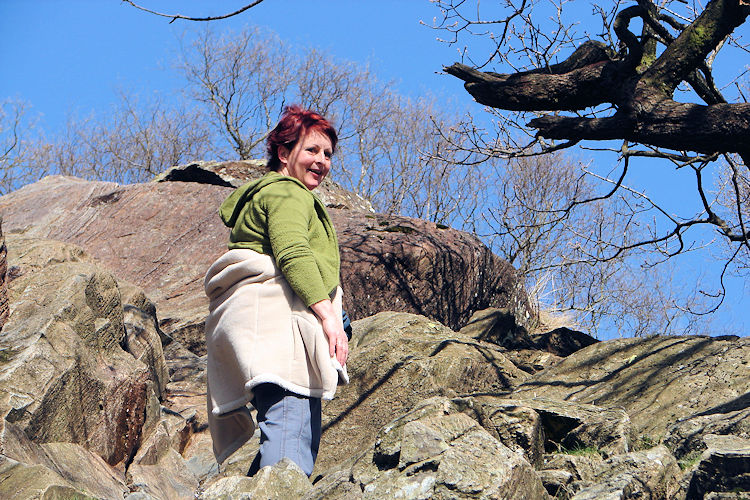
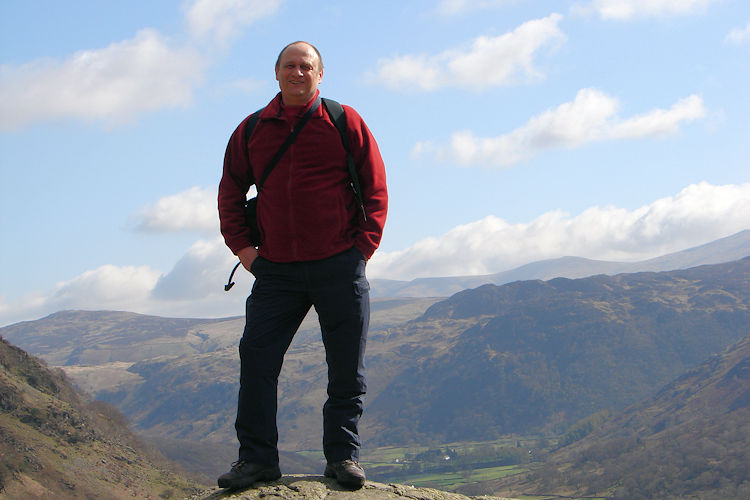
Lil climbs beside Sourmilk GillOn top of the world
We climbed alongside Sourmilk Gill, pausing regularly to absorb the unfolding vistas. Eventually, we reached the Seathwaite Slabs to rest. It was sunny, tranquil, and beautiful as we enjoyed drinks and energy bars beside the clear, running water. Unlike our previous visit, Lil was fully refreshed and eager to continue.
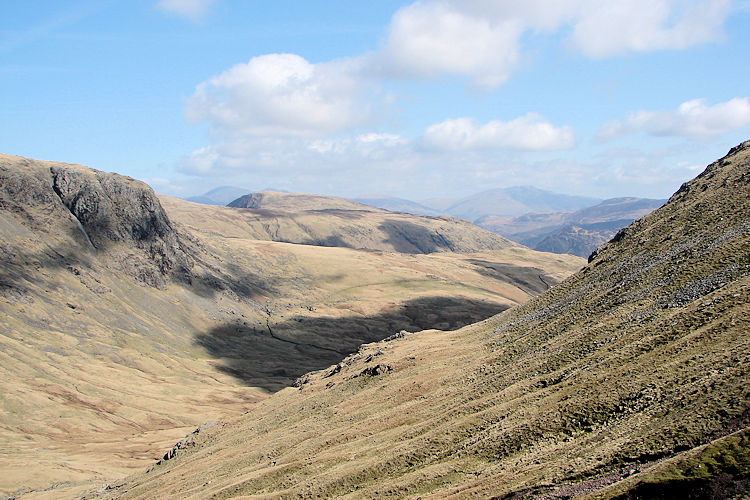
The gradient leveled off for a spell as we rounded Base Brown via Gillercomb—a peaceful, reflective section before the next ascent toward Green Gable. As we skirted south below Gillercomb Head, the climbing resumed, but both Lil and I took it in our stride. Soon we intersected the path coming up from Honister and Brandreth, where our solitude was momentarily interrupted by a group of loud, designer-clad walkers, followed closely by a work colleague phoning to check my availability for a meeting the following week!
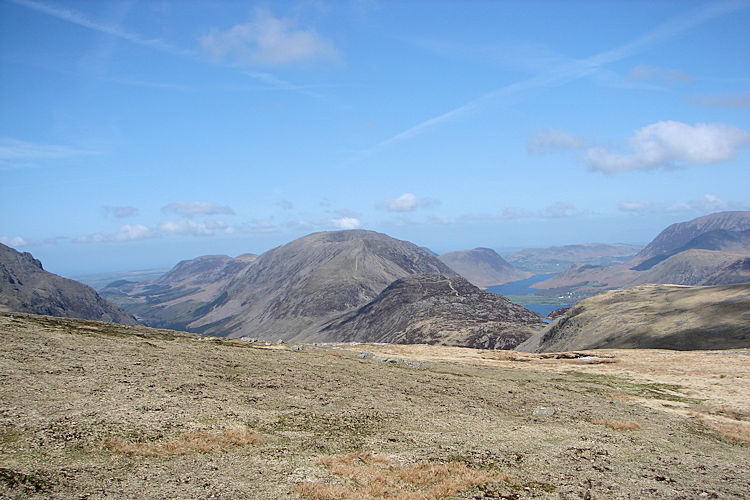
GillercombView to Buttermere, Crummock Water and Ennerdale
Clearing the phone call, we pushed on to the summit of Green Gable and prepared to drop across Windy Gap. On our previous crossing, Windy Gap lived up to its name with howling gales, but today it was entirely benign. Crossing with ease, we took a deep breath and began the scramble up Great Gable itself.
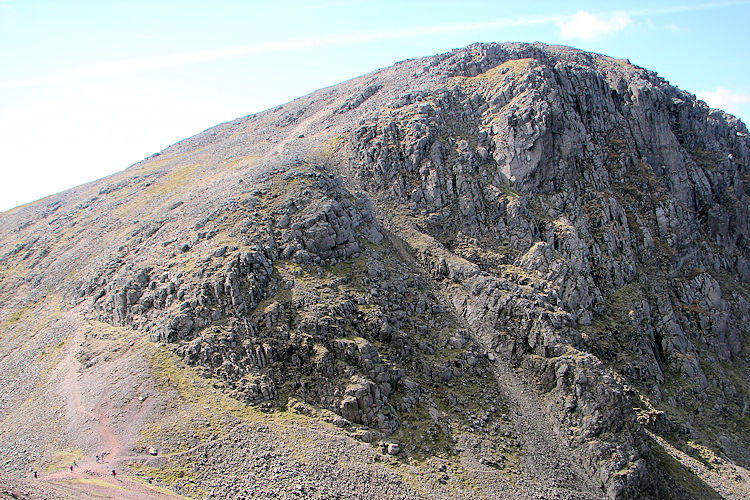
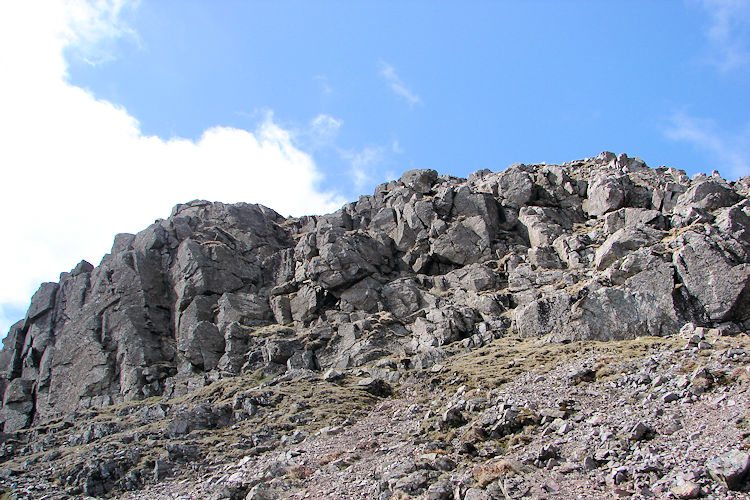
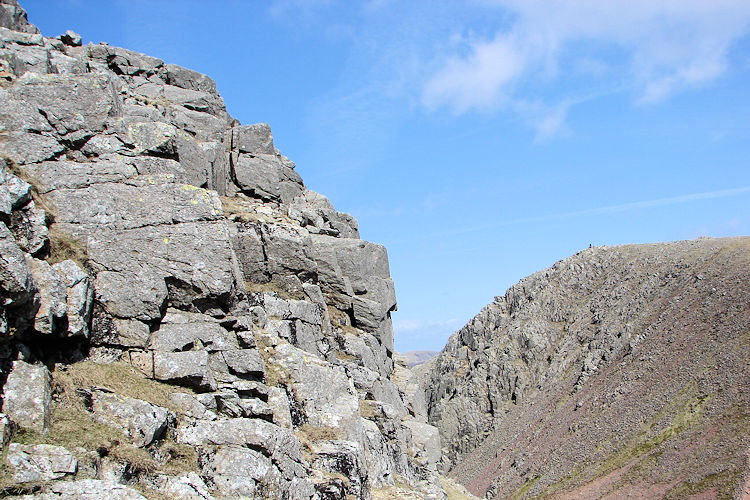
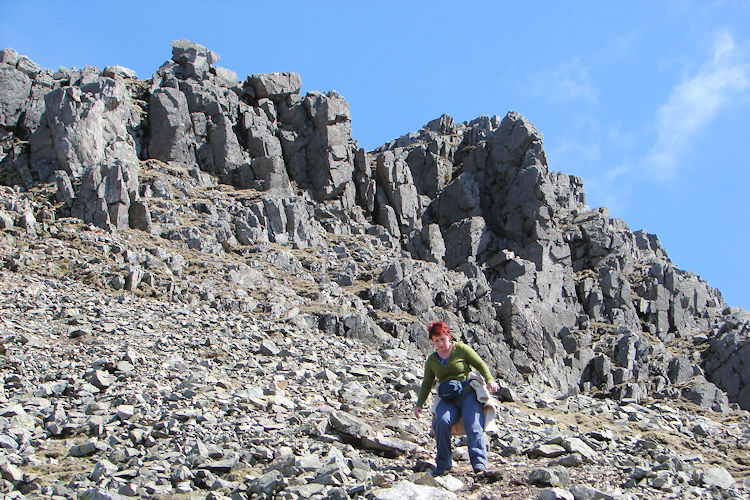
Windy Gap and Gable CragRocky terrain on Great Gable
The scrambling was great fun—never overly demanding, but engaging. Reaching the summit plateau, we bypassed the chatty group camped right by the trig point and lunched just out of earshot, enjoying expansive northern views toward Ennerdale, Buttermere, Crummock Water, and the distant Scottish hills beyond the Solway Firth.
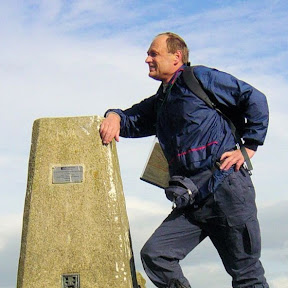
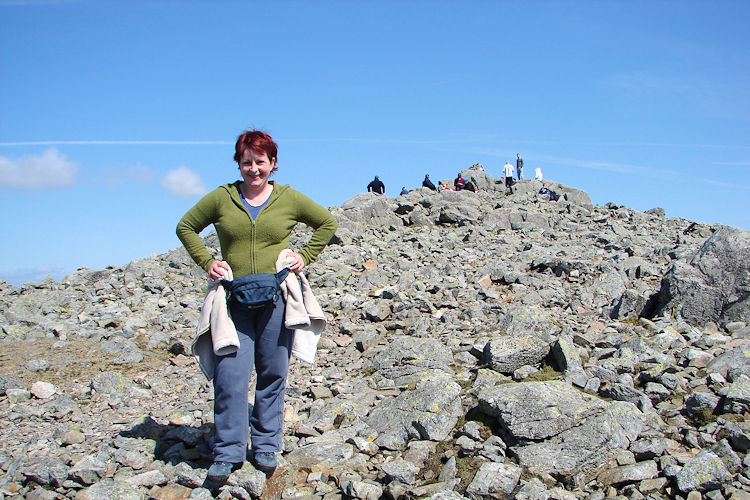
Looking from Gable Crag to Kirk FellDone it. On the summit of Great Gable
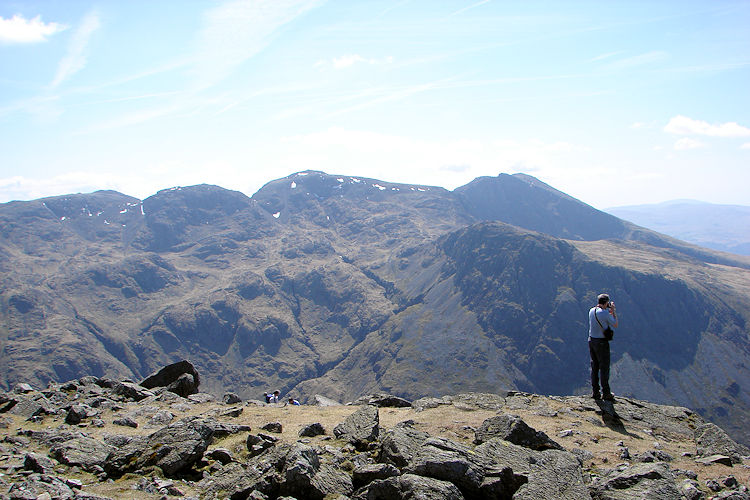
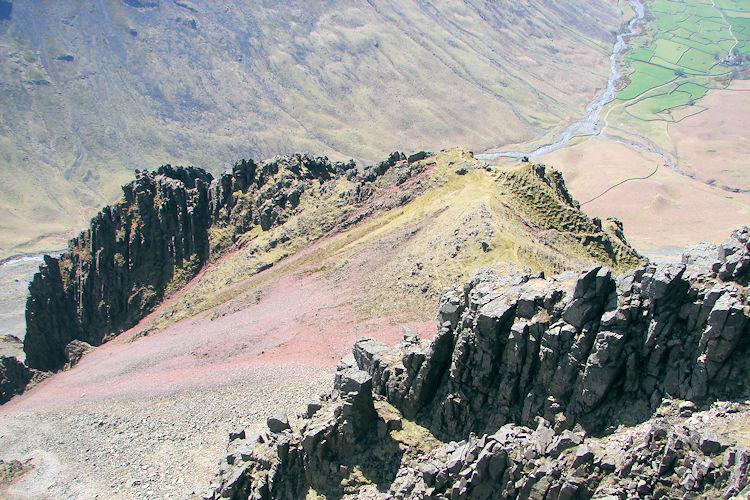
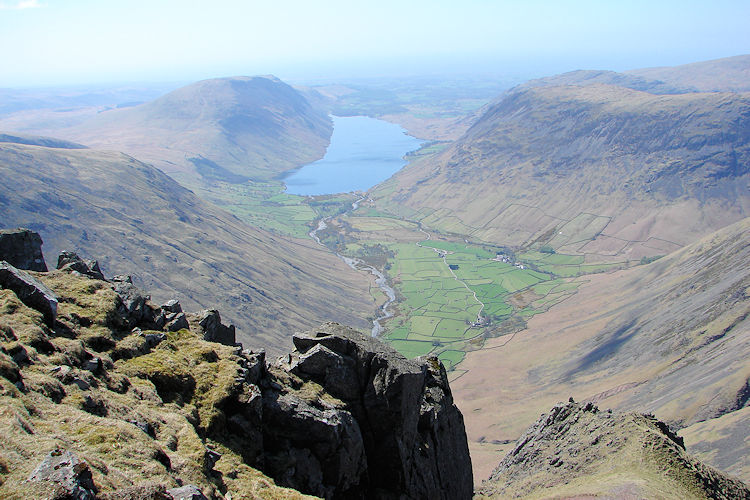
After lunch, we strolled around the summit perimeter, peering down at the dramatic natural rock pillars of the Great Napes. We admired the towering presence of Scafell Pike and Scafell across the valley, before turning our gaze toward Wast Water and Wasdale. Eventually, I turned my thoughts toward the descent.
View to Scafell Pike from Great GableGreat Napes
As I scanned for the descent path, Lil playfully called a halt—she was enjoying herself too much to end the day! Suitably impressed with her mountain turnaround, we located the path down and began the long, stepped descent toward Styhead Tarn.
Unlike our previous descent here when Lil was thoroughly exhausted, this time she strode out comfortably. Aside from a comical slip into a boggy puddle that left her with a damp backside, she smiled and hummed tunes all the way down to Styhead Tarn.
Wast Water and Wasdale as seen from Great GableBeginning the descent
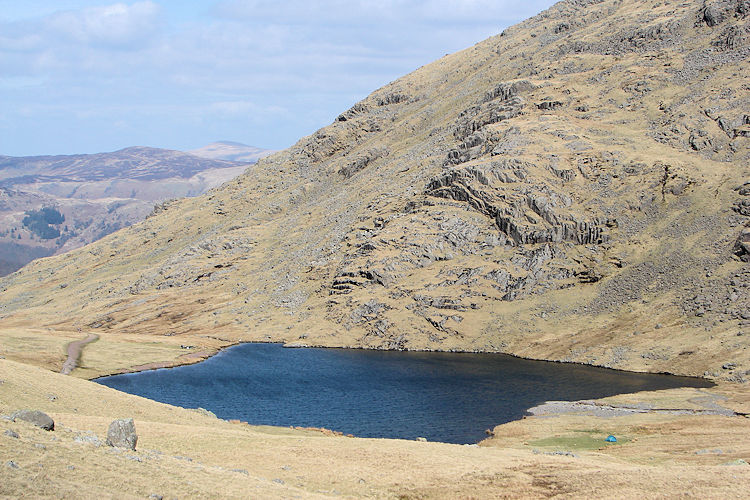
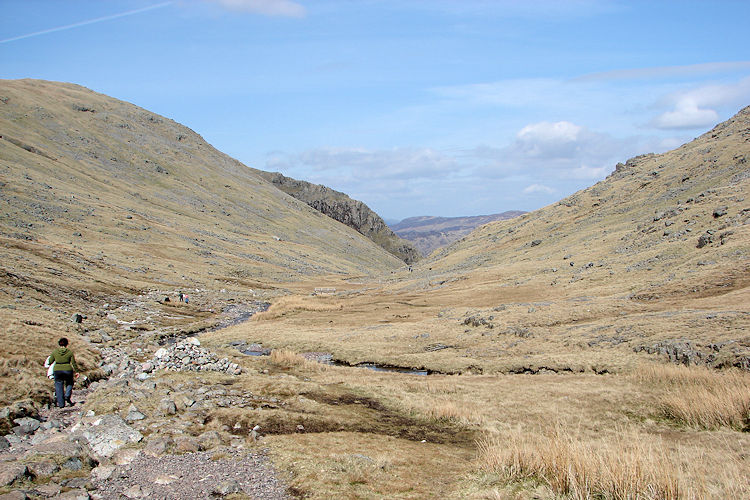
Styhead TarnWalking back beside Styhead Gill
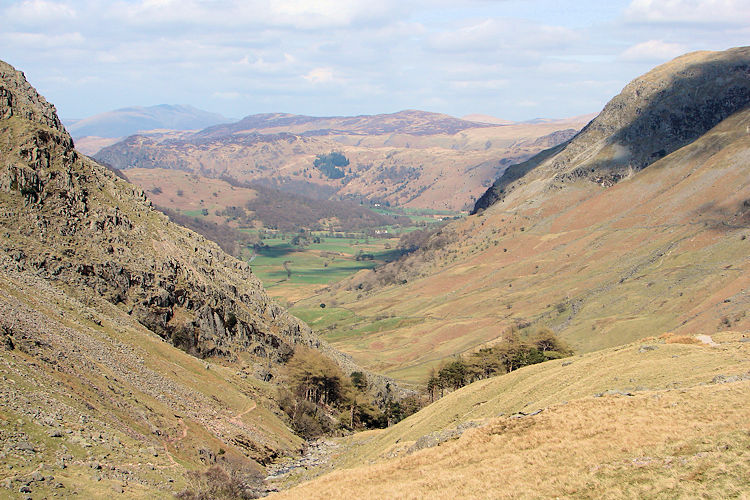
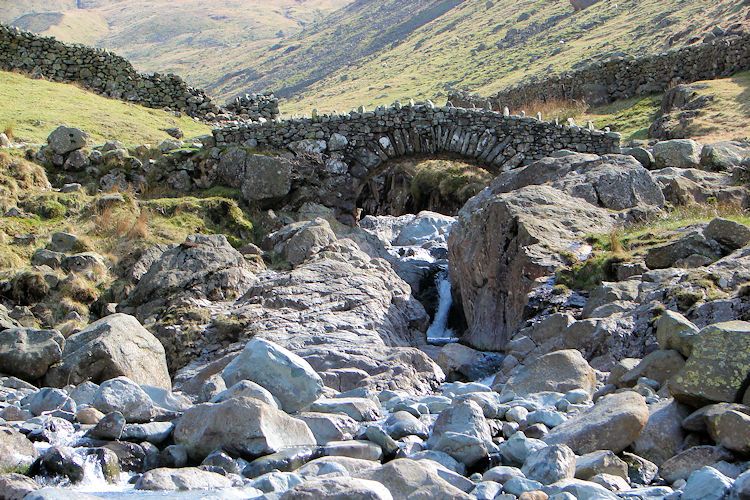
From Styhead Tarn, we followed Styhead Gill downstream past Greenhow Knott and descended the pitched path down to Stockley Bridge. A final level stroll alongside the rushing rapids of Grains Gill brought us back to the car. We both felt remarkably fresh—and sporting impressive sun tans to rival any Mediterranean holiday!