Hadrian's Wall National Trail
A personal record of my walk of Hadrian's Wall National Trail with written journal and photographs. Tracklogs for GPS units and for use with Google Earth are available for download for each stage.
Journal, Photographs and Download Files
Stage 5: Burnhead to Walton
Google Maps Open Source Maps| Statistics and Files | ||
|---|---|---|
| Start: Burnhead | Finish: Walton | Distance: 13.8 miles (22.2 km) |
| Time: 6-7 hours | Climbing: 408 metres | Rating: Hard |
| GPX Route File | Google Earth File | About Haltwhistle |
| Statistics | |
|---|---|
| Start: Burnhead | Finish: Walton |
| Distance: 13.8 miles (22.2 km) | Time: 6-7 hours |
| Climbing: 408 metres | Rating: Hard |
| GPX Route File | Google Earth File |
Ordnance Survey Explorer Map (1:25,000)
Summary: Despite being past the spectacular high ground of the Great Whin Sill this stage proved to be very enjoyable. the first section to Walltown saw us cross the last high crags of Hadrian's Wall before we descended into the lowlands of west Northumbria and East Cumbria. There were a good scattering of interesting sights, Roman and otherwise along the way.
The Walk: As with Acomb the day before, we woke in Haltwhistle to a wet morning. Less intense than yesterday but wet all the same. A taxi driver who picked us up from Burnhead yesterday returned Steve, Dave and I from Haltwhistle to the start point but not before we had rendezvoused with Tim Nobes who was joining us for the day. Tim, a teacher from Kendal first walked with Steve and me in the Lake District during my 1,000 Mile Walk last year. He had walked with me a couple of times since then and it was good to see him.
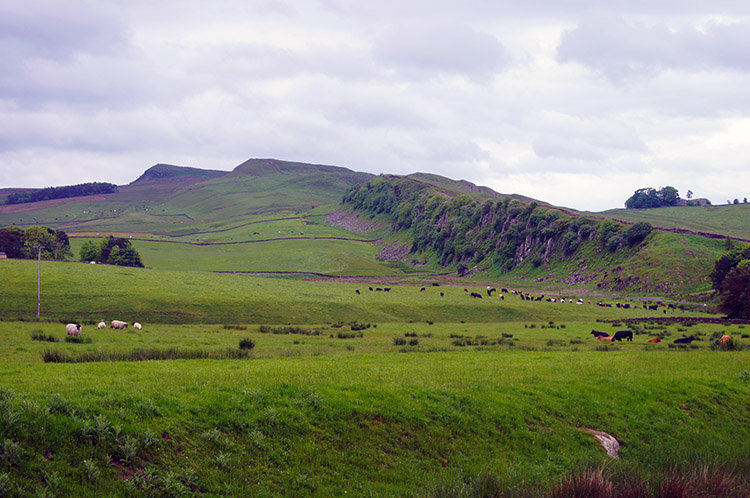 Great Whin Sill
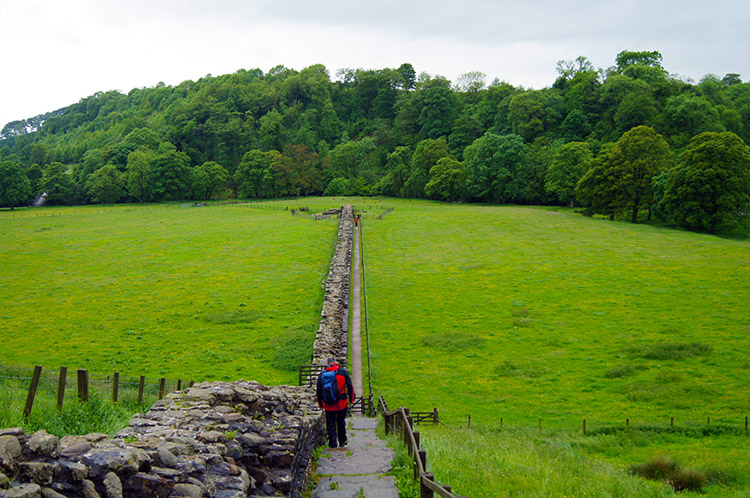
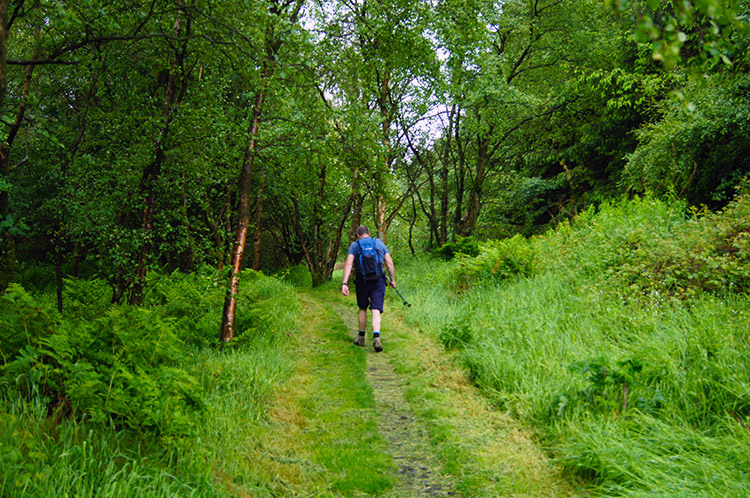 Tim walks through woodland at Cockmount Hill
We set off from Burnhead and headed north west to Aesica Roman Fort but not before I took a last privileged look back to the Great Whin Sill in the east, scene of yesterday's classic stage of the trail. Not much remained of Aesica, just a few foundations but it was notable any evidence of a fort remained here, being so close to a working farm. From the site of the fort we tramped across a couple of fields before reaching Cockmount Hill where we walked through a wood before continuing on open land to Allolee Rigg.
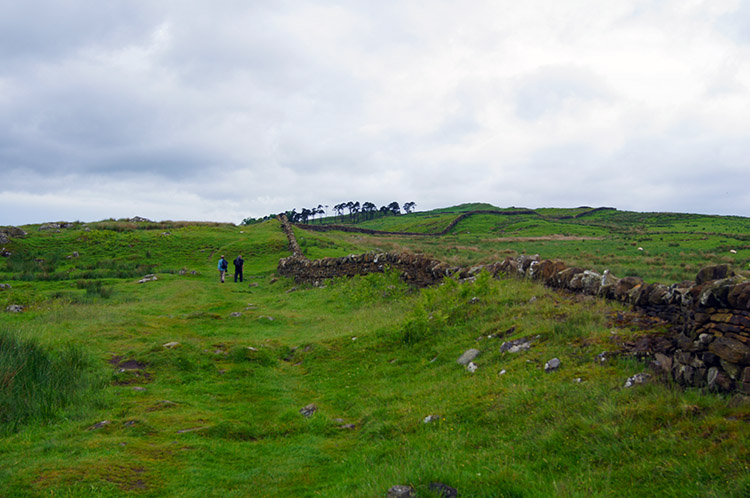 Crossing land near Allolee Rigg
 Sloping field on the west side of Walltown Crags
Allolee Rigg led us to a site on the Ordnance Survey map described as King Arthur's Well in a gap between Allolee Rigg and Walltown Crags. I couldn't find anything like a well there but Walltown Crags were quite an attractive feature, the last great crags of the walk westwards. The grassy slopes falling to the south of Walltown Crags were a spectacle, all so even and I am sure it would be a great place for children with toboggans to try out their skills in snow. No snow on our crossing, no children either, just a flock of sheep happily grazing on the gentle slopes.
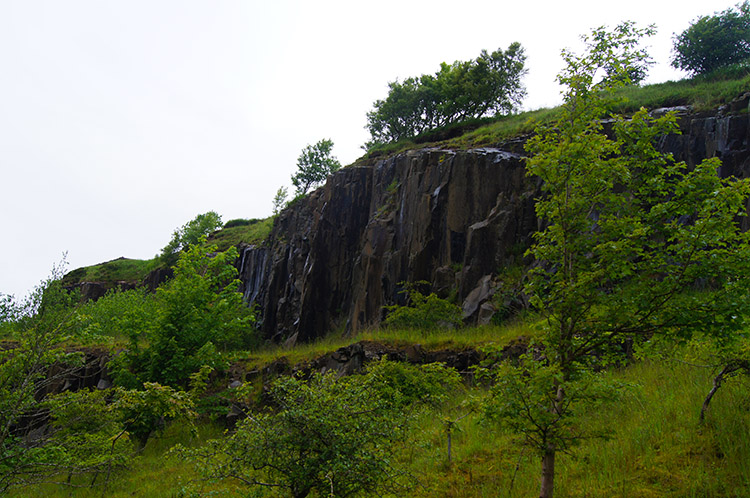 Quarried rock face at Walltown
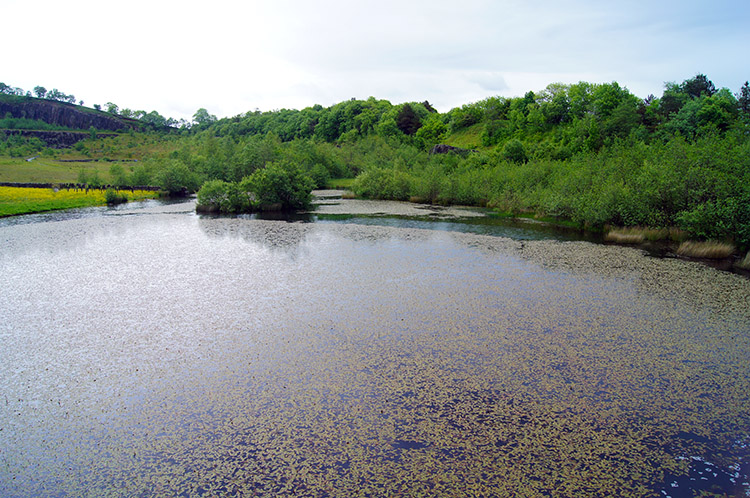 Picturesque pond at the old quarry site
After completing our crossing of the sloped field beside Walltown Crags we continued across a long field which was occupied by a herd of cows and a resident bull. He, like the one we encountered earlier on the walk near Planetrees was quietly sat at rest but we gave him a wide berth all the same. From the field we followed a bridleway to Walltown and through a disused quarry site which had been redesigned into a lovely nature reserve. It has been landscaped and developed as a recreational site with extensive network of paths and ponds. On the impressive reserve we were pleasantly surprised to find a refreshment centre. Here we availed ourselves of the facilities to take a welcome break for tea.
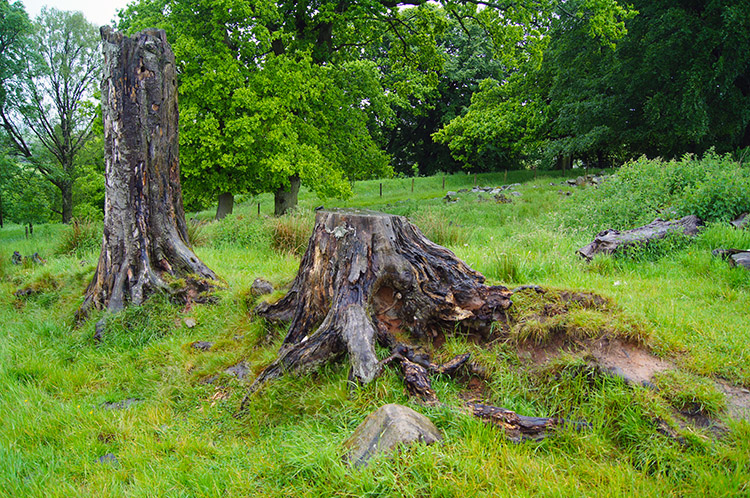 Tree stumps at Holmhead
 Thirlwall Castle
After our break at the refreshment centre we continued in the unabating drizzle which had accompanied us since the start of the day's walking to the site of Thirlwall Castle which was built in the 12th century from stone taken from Hadrian's Wall. One of its most notable residents was Sir Percival Thirlwall who was killed at the Battle of Bosworth Field whilst fighting in the Yorkist cause in 22 August, 1485. I have now walked past where he lived and to the battlefield where he died. So has Strolling Steve. From the runs of Thirlwall Castle we reached the B6318 which we had first seen at the end of Stage 2 in Heddon on the Wall. We walked along it briefly and for the last time as we continued west while the road headed north and into Scotland at Langholm where Steve and I had stayed for a night during the Great Britain End to End walk in 2011. I now realise I have walked along both extremities of it and a good bit between. That is quite an acquaintance with the B6318 I have.
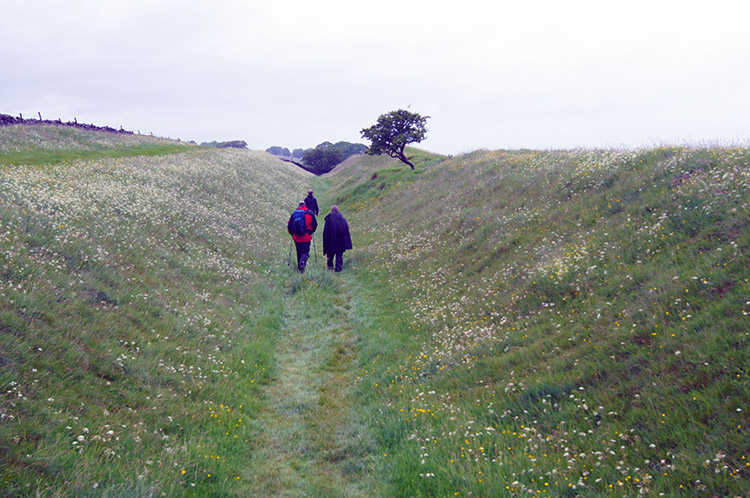 In the Vallum at towards Gilsland
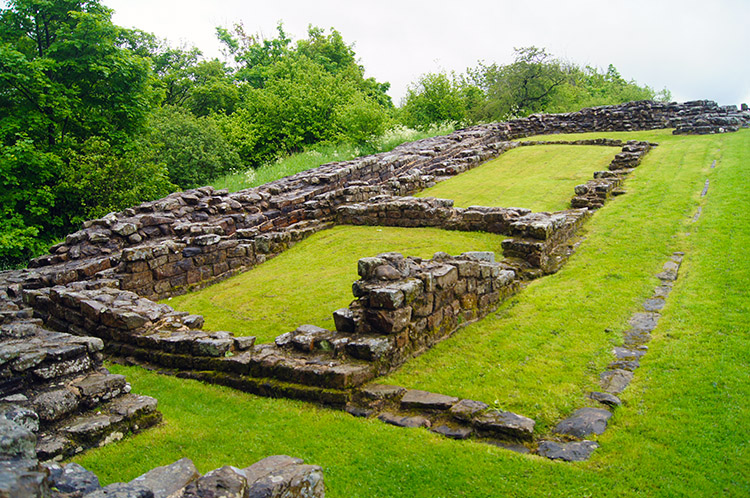 Poltross Burn Roman Fort
After leaving the road after approximately 200 metres of walking north west along it we turned due west to follow the track in the bottom of the Vallum to Green Croft and from Green Croft to Gilsland. There is a post office in the village and possibly more shops if you're seeking refreshments by now but as we were not needing such we continued on the course of the trail which led us to the impressive site of Poltross Burn Roman Fort before we crossed a railway line, a field, then a road on the way to Willowford.
 Following Hadrian's Wall at Willowford
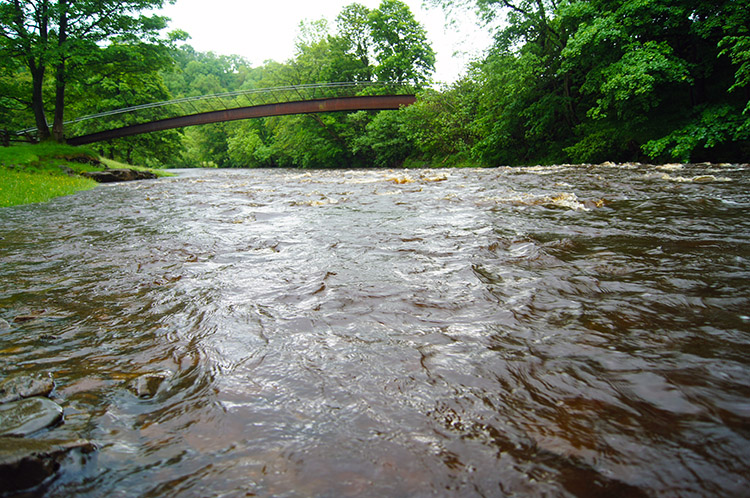 Modern footbridge over the River Irthing
After crossing the road we came to a really impressive section of the Roman wall. The Willowford Wall and Turrets is a fine 914 metre stretch of unbroken wall that falls on an even gradient to the River Irthing. It includes two turrets and some impressive bridge remains beside the River Irthing. You can imagine what the Roman bridge looked like here. We crossed a bridge not so grand but practical all the same.
 A short stiff climb from the River Irthing
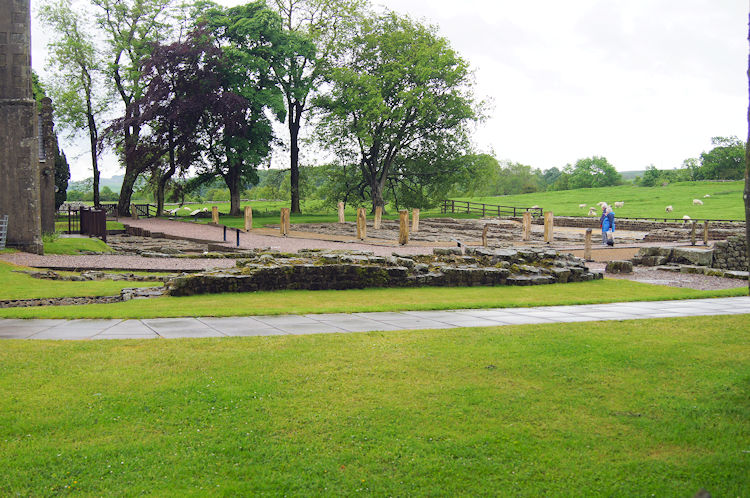 Birdoswald Roman Fort
After the bridge crossing over the River Irthing we hauled ourselves up a short but steep hill toward Birdoswald Roman Fort. At the fort we stopped for refreshments, not least for a drink and a bite to eat but also to dry off a little as the drizzle conditions we had set off with were still with us. Fortunately as we took our break the weather brightened up and by the time we left we could finally take off the wet gear. That was a relief and less encumbered by clothing we set off over fields from Birdoswald towards Combcrag Wood. In the first field we had quite a laugh. The earth literally shook for us. As I had set off first I experienced the sensation before the others. Tim came next and his expression on hitting the moving ground was something I will never forget. Then came Dave and Steve who also loved the moment so much that Dave went back to do it again. After our seismic laugh we continued on our way with the earth once again firmly supporting us.
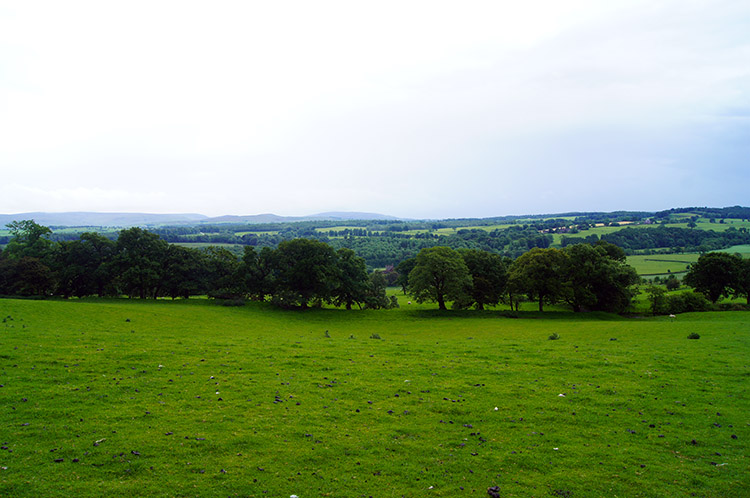
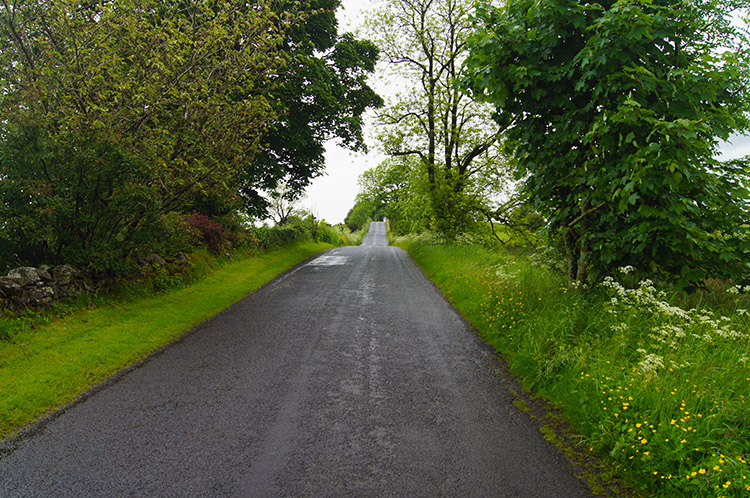 The long unwinding road to Banks
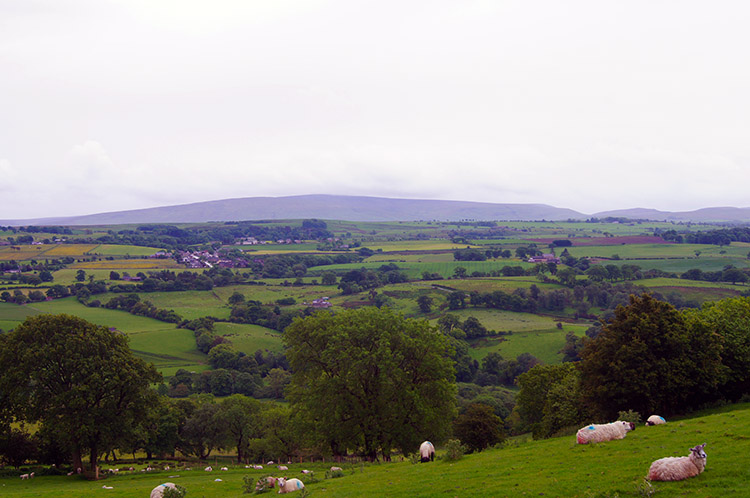 Looking south to the North Pennines
Once past Combcrag Wood we had a long straight section of road to follow to the small quiet hamlet of Banks. Apart from a few isolated and small sections , the best of Hadrian's Wall was now behind us and while that was a sad parting of the ways there were compensations as some good views south to the Pennine range were provided. One last section of wall at Bankshead Turret, just east of the village was being visited by a couple of groups, one from a car and one from a minibus, both taking advantage of its situation beside the road.
 Looking west over lush countryside near Haytongate
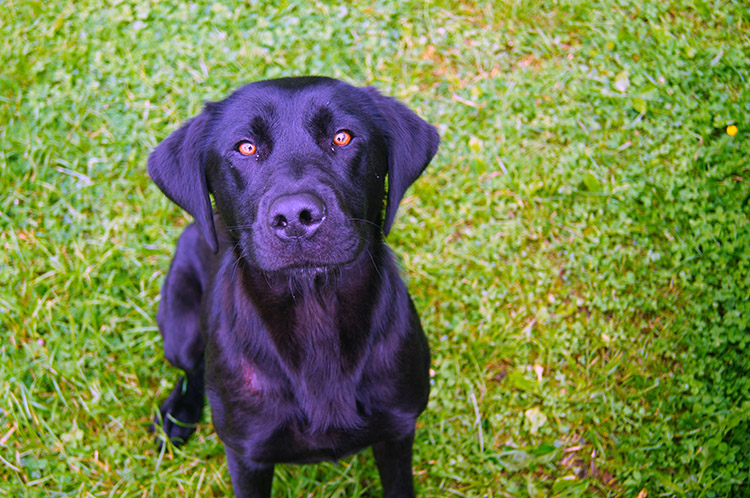 Friendly dog
The section of walking from Banks to Haytongate and Garthside was lovely because once height was gained on the crest of Craggle Hill the views to the west were sumptuous. From the crest of the hill it was a gentle descent to the road at Garthside where a couple of friendly black dogs greeted us. Here we also found a sign pointing us to a self-service honesty refreshment shed. Paying the suggested fee Tim and I availed ourselves of a drink of pop each while we waited for Dave and Steve to catch up with us.
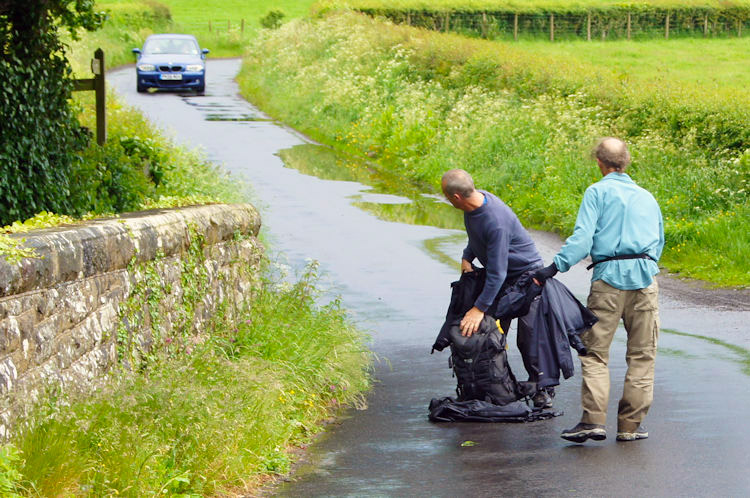 Steve picks a bad spot to change
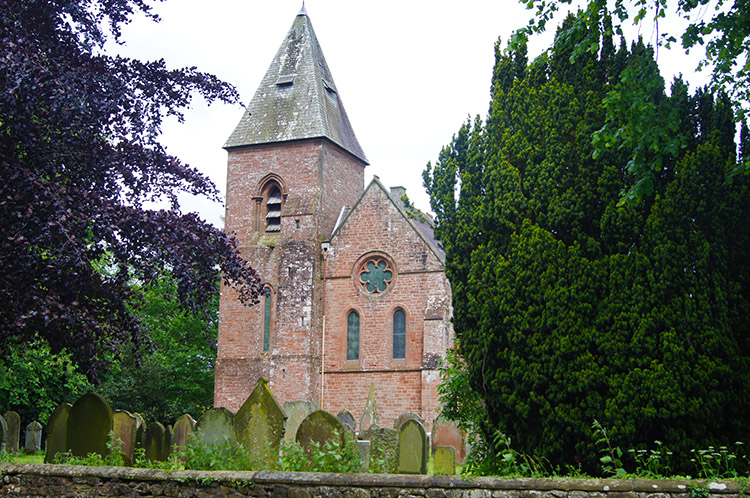 Walton Church
The final mile of walking to Walton was unremarkable, the first few fields being quite boggy so we took the decision to leave the track and follow the road to Dovecote and over Dovecote Bridge to Walton. As we walked the final half mile the sun came out, a frustrating event after a dismal day but at least the last couple of hours had been dry. As the photograph above shows, Steve picked an inappropriate time and place to rearrange his clothes. Walton itself was a quiet village, very pretty in the centre too. We found a cafe at the village hall and took refreshments while we waited for a taxi to Brampton, base for Steve, Dave and I in the evening. After Steve and I were dropped off Dave accompanied Tim in the taxi back to Haltwhistle as he had left his kit weight in Tim's car before returning to Brampton in the taxi.
Reflections on the day's walk: Very nice, varied walking with moor and crag giving way to lovely countryside. Plenty of Roman sites, some well preserved. Company great as usual and enhanced - thank you Tim for joining us. Tomorrow onwards to Carlisle.